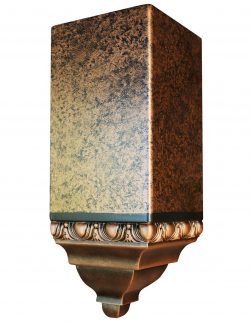
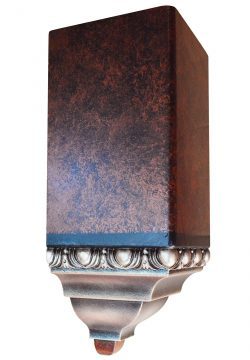
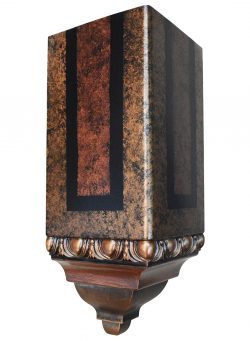
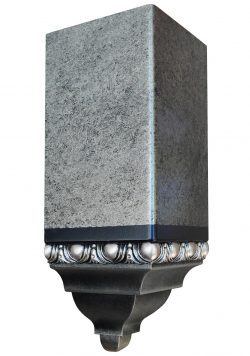
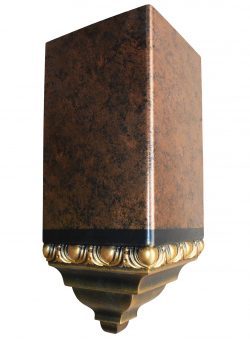
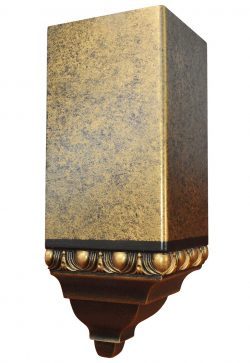
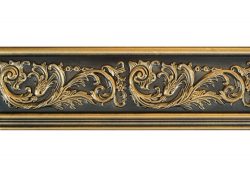
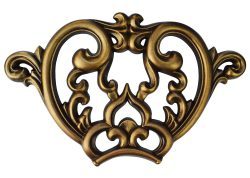
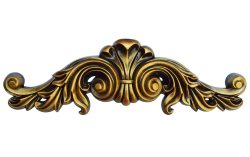
Measurements: 17 in. Height x 6 in. Width x 6 in. Projection.
Finish: Olympic Gold.
Material: Polyurethane.


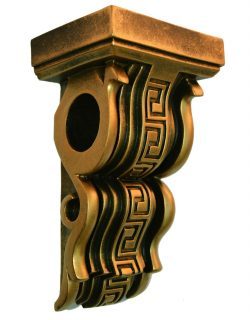
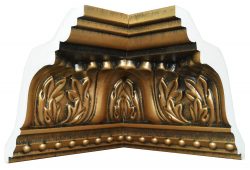
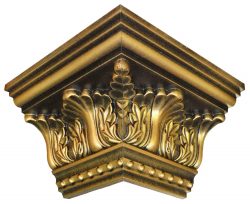
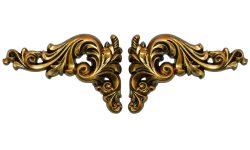
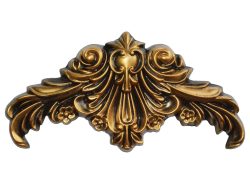
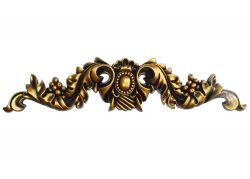
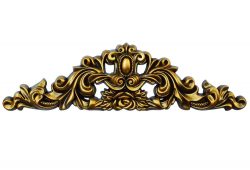
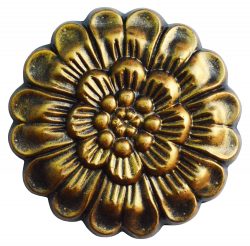
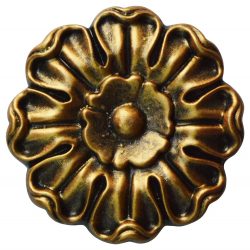
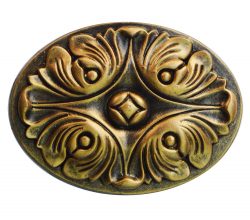
Crown Molding Inside Corner Block 17 in. H x 6 in. W x 6 in. P CMCBF-001
$89.00
-
Description
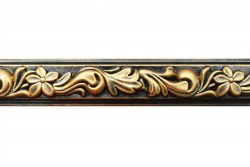
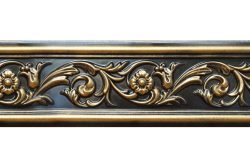
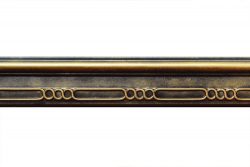
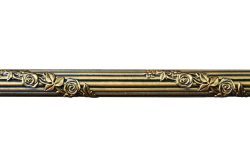
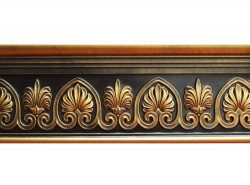
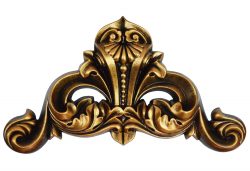
Hand-Painted Crown Molding Corner Block
- This corner block is fully hand painted by a professional artist.
- Finished in metallic colors to match most of your ceiling and wall accessories and decorations.
- Can be used for interior and exterior settings. Can also be washed.
- This corner block is made of polyurethane that lasts forever.
- Made in the U.S.A.
- Limited lifetime warranty.
Product Options
1- Exterior Settings
If an exterior setting is chosen, a sealer coat should be applied for protection and durability; $5.00 will be added to the price for this option.
2- Finish Sheen
You can choose from two different finish sheens: low luster, which is the default sheen, and gloss. An extra finish coat should be applied to obtain a glossy finish sheen; $5.00 will be added to the price for this option.
Product Specs
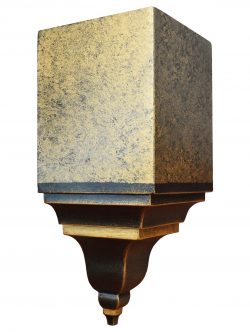
This corner block fits crown moldings up to 6 inches projection only.
Crown molding can be mounted on this corner block in three positions, top, meddle and bottom of block mounting area, these options will make the corner block longer or shorter according your preference.
This corner block can be cut to be adapted for wall angles up to 140°.
Please visit crown molding system page for more info.
Shipping Lead Time Per Quantities
4 – 10 corner blocks: 5 – 7 days.
11 – 30 corner blocks: 10 – 15 days.
30 + corner blocks: 15 – 21 days.
Priority orders, please contact us at: 877-268-7770.
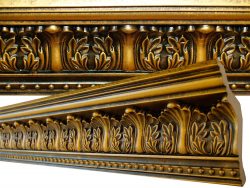
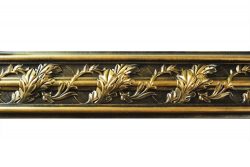
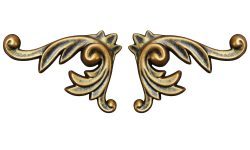
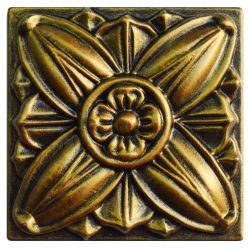
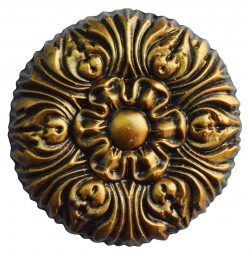
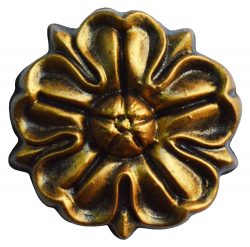
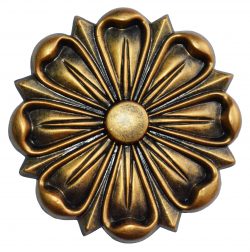
Polyurethane Crown Molding Corner Blocks
Polyurethane is a hard, dense foam that has many advantages over wood in that it does not rot, crack, splinter, or absorb moisture.
Here are a few of the many advantages of polyurethane moldings:
- Exquisite detail and design consistency.
- Lasts longer than MDF or wood crown molding.
- Designed for interior and exterior use.
- Cuts cleanly without splintering.
- Lightweight and easy to install.
Learn more about polyurethane.
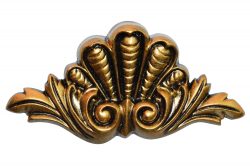
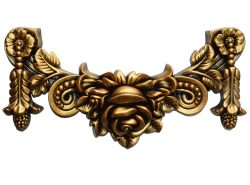
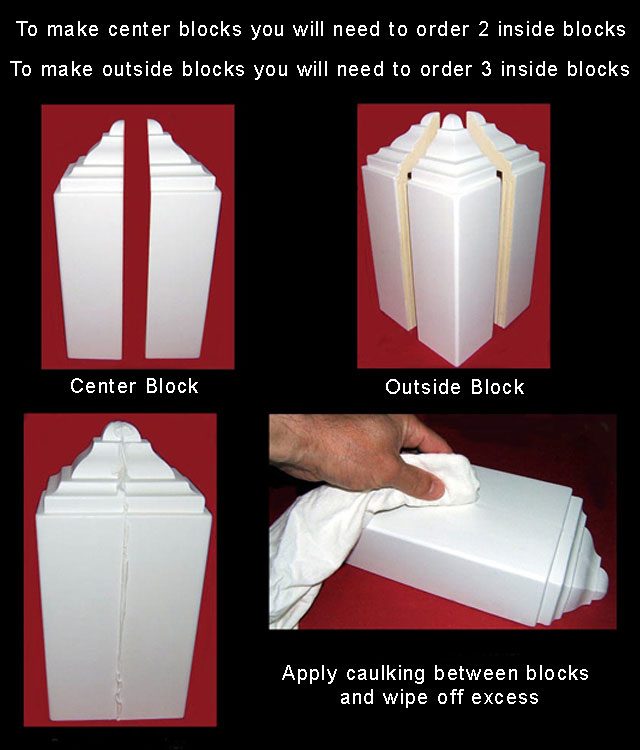
How To Create An Outside Corner And Center Blocks
For painted corner block is recommended to use black caulking for joints and seams, then touch up with the same paint.
Crown Molding Measurements Explained
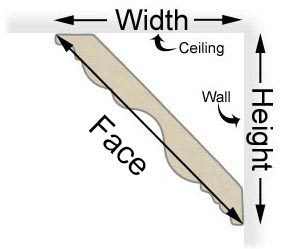
Face: The distance between the outer contact point with the ceiling and the bottom contact point with the wall.
Height: The distance between the ceiling and the bottom contact point with the wall.
Width: The distance between the wall and the outer contact point with the ceiling.
The face is the hypotenuse of the right triangle, whose legs are the width and the height.
Difference between low luster and gloss finish sheen, view here.
Additional information
| Weight | 2 lbs |
|---|---|
| Dimensions | 20 × 10 × 10 in |
| Finish: | Olympic Gold |
| Height: | 17 in. |
| Width: | 6 in. |
| Projection: | 6 in. |
| Mounting Height | 11 in. |
| Material: | Polyurethane |
| Product Weight: | 14 oz. |
HOW TO INSTALL CROWN MOLDINGS
Step 1: Cut the Corners of the Molding
The hardest part of installing crown molding is cutting the corners. You can’t do it like any other trim pieces because the molding sits at an angle between the wall and the ceiling (Image 1). Using a coping saw (Image 2) is the easiest way to cut the corners because a coped joint is tighter than a mitered joint. A coping saw is also good for a beginner. Any gap in a coped cut can be easily concealed with a little bit of caulk.
Another tool that will make the job easier is a power miter saw (Image 3). It’s accurate and makes a cleaner cut than a plastic miter box.
Step 2: Measure and Mark the Wall
Measure the wall for the length of your first piece of molding. Mark the wall to show the bottom edge of the molding.
Step 3: Cut the First Measured Piece
Once you determine the length, take the molding to the saw and cut in a straight line at a 90-degree angle — you want both ends of the molding to butt against the side walls.
Step 4: Cut the Next Piece to Fit an Inside Corner
Move the miter saw guide to the 45-degree angle point and set the molding into place. The edges need to be pressed firmly against the saw table and the vertical side fence. This is the first key to a straight cut and a good fit.
Step 5: Understand How the Pieces Fit Together
The second key is not so obvious and can be a bit confusing. The molding is upside down, meaning the edge against the vertical fence is the bottom of the molding and the edge against the table is the top of the molding (think of your table as the ceiling).
Step 6: Cut the Molding at a 45-Degree Angle
With the molding in the proper position, use a 10-inch saw blade to cut a perfect 45-degree angle. It is also important here to make sure you cut the molding angle in the right direction: for an inside corner, the bottom of the molding should be longer than the top part of the molding; for an outside corner, the top of the molding will be longer than the bottom.
Step 7: Cope the Joint
When you cope a joint, you scribe the end of one molding to the face of the other. Darken the front edge with a pencil and then use the coping saw to cut as close to the line as you can. You need to hold your thumb against the side of the blade to guide the start of your cut. Start slowly, so you don’t splinter the delicate edge. Cut at a slight angle. You want to cut off more from the edge of the molding and you don’t need to cut it all at one time. Cut out small pieces to make creating this coped joint easier.
Step 8: Check the Fit
Check the fit against a scrap piece of molding to reveal any gaps that need to be trimmed. Use the coping saw to cut off the high points.
Step 9: Attach the Molding to the Wall
Once the fit is right, take the molding to the wall. For a long piece, you’ll need some help holding it. Push the end into the corner, making the fit as tight as possible; attach it to the wall. Use the caulk gun to cover up any gaps in the joint (make sure you’re using paintable caulk). You may need another small piece of molding to finish out the wall.
Step 10: Make Miter Cuts for the Outside Corners
The outside corners should meet exactly (a caulk gun can’t help you much here). Less experienced DIYers may want to paint the crown molding, since paint and caulking can be used to hide any small mistakes — with stained molding, it’s much harder to disguise imperfections.
Step 11: Use Optional Corner Blocks
You can skip the miter and coping cuts altogether by using corner blocks, which will prevent having to cut angles into the molding. It looks professional and tends to be a lot easier.